Virtual Desktop Infrastructure (VDI) Information
What is VDI?
VDI is an acronym for Virtual Desktop Infrastructure. VDI provides access to a wide
variety of software without ever having to set foot on campus. Think of it as remote
controlling a loaner computer here on campus, only from anywhere in the world and
from any device.
The VDI developed by the college includes a number of different profiles. Each profile
contains the newest versions of Microsoft and Adobe applications. The profile most
SBCC Students would use is called the “Student Desktop.”
To access the Student Desktop, you need to install the free Horizon VMWare client
software on your home computer or use the VMWare html connection to SBCC’s VDI system.
Most SBCC campus computers in public use areas, e.g., Library, LRC, and Campus Center,
already have the VMWare client software installed.
Two-Factor Authentication (2FA) is now required to access the Virtual Desktop Infrastructure
system (VDI).
2FA for VDI Setup Instructions
Installation steps:
Step 1 - Go to https://vmview.sbcc.edu (Note, there is no WWW at the beginning of this address and it begins with https,
not http):
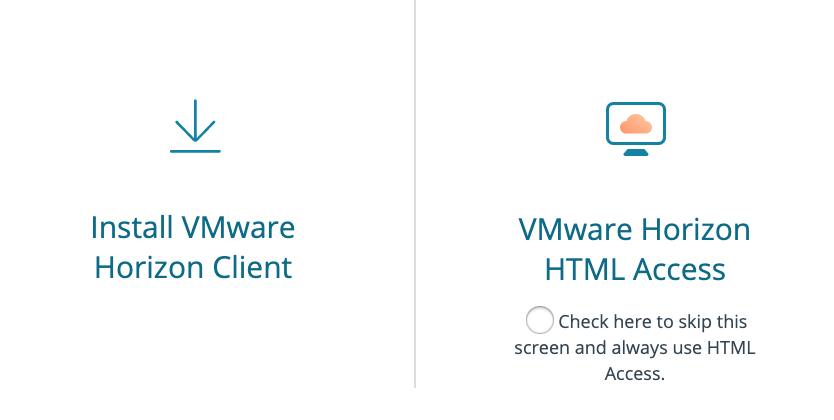
Step 2 - Review the following options and select the one that is appropriate for the
device you are using. Remember, most SBCC public computers have the VMWare installed
so you can skip the installation.
OPTION 1: Install VMware Horizon Client - This will download and install the app/software client on your device. For regular
Windows and Mac Desktop and Laptops.
OPTION 2: VMware Horizon HTML Access - (Recommended) This version is web based, so it will just load it within your browser
window. No download or install required.
Step 3 - Download the software for your operating system. Install the software like
you would with any other software package you install on your home computer.
Step 4 - In your computer’s applications, look for the VMWare Horizon client software
and open it.
You will see an icon in the top left that reads “New Server”: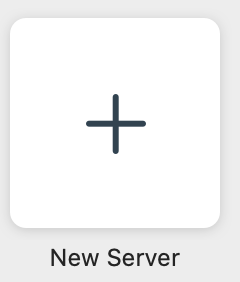
Double-click the + and enter the server name vmview.sbcc.edu and click “Connect”.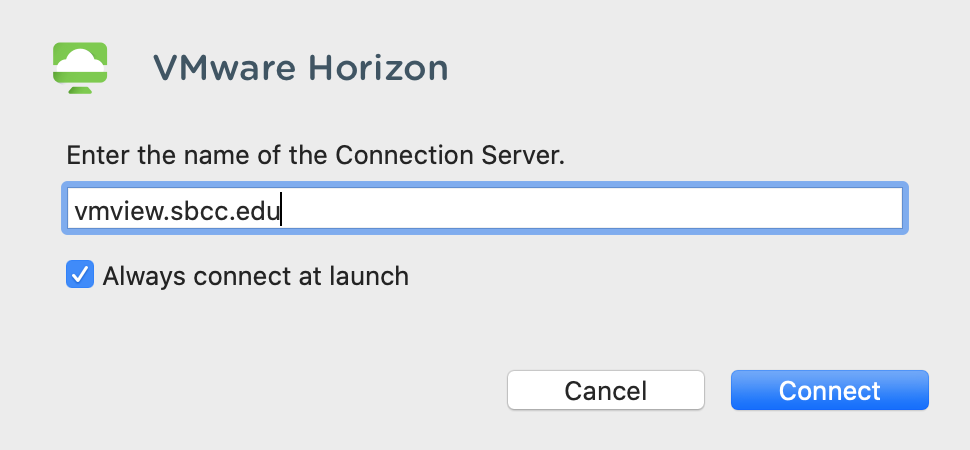
Step 5: You will then be prompted to log in. Enter your campus username and password,
and then click “Login”. Your campus username is the information before @sbcc.edu in
your email address.
Step 6 - Select the Student Desktop icon/profile unless you have been directed to
use a different profile. The system may take a few minutes to log you into the VDI.
The amount of time depends on your connection speed to the internet, internet traffic,
etc. After logging in you will see a Windows 10 desktop.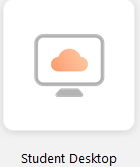
Step 7 - Logging out of the VDI system.
In the Windows’ Start Menu of the VDI, choose Shut down option. This will shut down
and disconnect you from your VDI.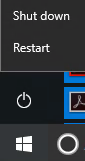
Step 1 - In your computer’s applications, look for the VMWare Horizon client software
and open it. Server name is VMView.sbcc.edu. Next, select the vmview.sbcc.edu icon
and open it.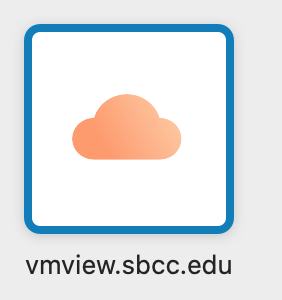
Step 2 - A new VMWare window will open. Log in using your Campus username and password.
Your campus username is the information before @sbcc.edu in your email address.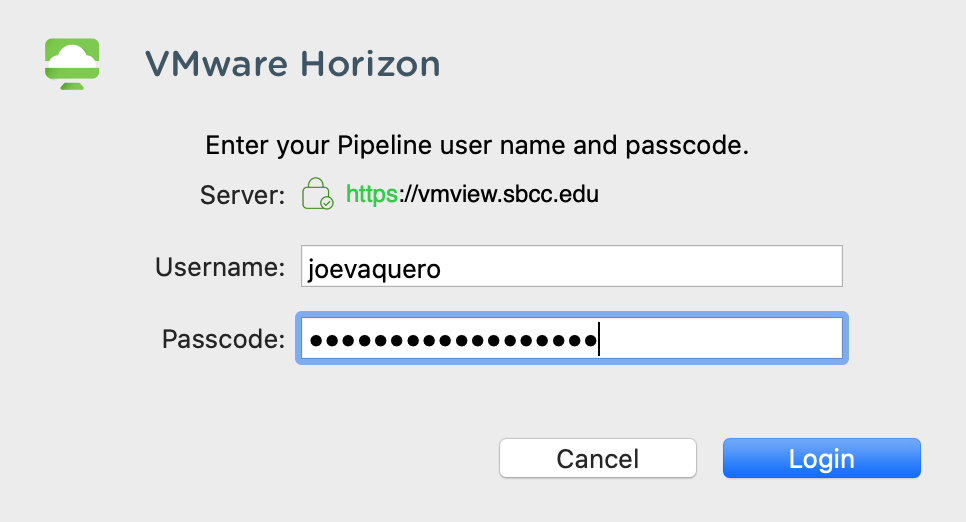
Step 3 - The system may take a few minutes to log you into the VDI. The amount of
time depends on your connection speed to the internet, internet traffic, etc. Select
the Student Desktop desktop icon/profile unless you have been directed to use a different
profile. After logging in you will see a Windows 10 desktop.
Step 4 - Logging out of the VDI system.
In the Windows’ Start Menu of the VDI, choose the ”Shut down” option. This will shut
down and disconnect you from your VDI session.
Chromebooks provided by SBCC already have the VDI Client installed and ready to use.
Look for the icon below and then login with your campus account credentials.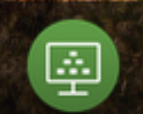
You can launch the complete Student Desktop or select the specific application (Microsoft
Office, Adobe Suite, MatLab, Maple, etc.).
To connect from your own Chromebook or other mobile device, follow these steps:
Step 1 - Go to http://vmview.sbcc.edu (Note, there is no WWW at the beginning of this address)
Step 2 - If you are using a Google Chromebook, iPad, or smartphone select VMware Horizon
HTML access version icon on the right.
Step 3 - A new VMWare window will open. Log in using your Campus username and password.
Your campus username is the information before @sbcc.edu in your email address.
The system will take a few moments to log you into the VDI. The amount of time depends on your connection to the internet.
Step 4 - Select the Student Desktop icon/profile unless you have been directed to
use a different profile. After logging in you will see a Windows 10 desktop.
Step 5 - Logging out of the VDI system.
In the Windows’ Start Menu of the VDI, choose the “Shut down” option. This will disconnect
you from the Student Desktop profile.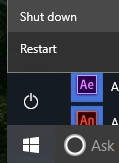
Select the blue CLOSE button in the dialog box.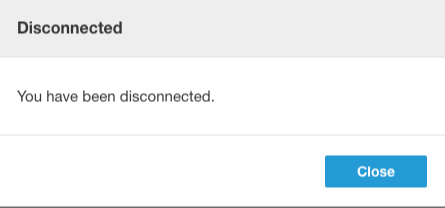
Step 6 - In the upper left hand side of the window, choose the dots/dashes’ icon and
the Logout option to log completely out of the Student Desktop profile.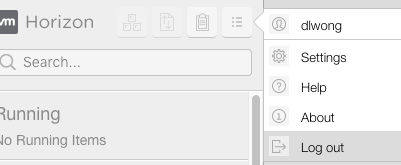
Files can currently be saved to your personal computer’s storage, a cloud storage
space like Google Drive, or to an external USB drive. Files saved to the VDI desktop will be erased between logins to the system.
Steps for saving a file to your personal computer’s drive from your VDI client
- Select Save As from within the application
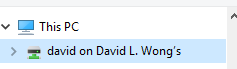
- You can save your file directly to your home computer’s drive if you logged into the
VDI client from your computer using the VMWare client. If you used the VMWare HTML
process, you will not be able to do this. When you navigate, select this PC link and
then your user name in the list of storage spaces. Once you have selected your name,
you can navigate to the specific folder/directory where you want to save the file.
Steps for saving a file to your Google Drive space.
- Save the file to your VDI desktop temporarily.
- In a separate browser window or tab, open your Google Drive space. Remember, Google Drive can be accessed after you log into Gmail by selecting the series of nine dots in the upper right hand side of the window and then the Drive icon.
- Drag the file from the VDI desktop to the Google Drive window to upload your file.
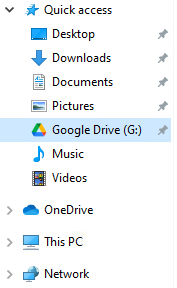
- Alternatively If you sign into the Google Drive desktop application there will also
be a storage location labeled Google Drive (G:) this is your Google Drive folder synced
to the VDI session saving a file here also saves to the corresponding location in
Google Drive.
To access Google Drive (G:) follow these steps:
Bring up the File Explorer.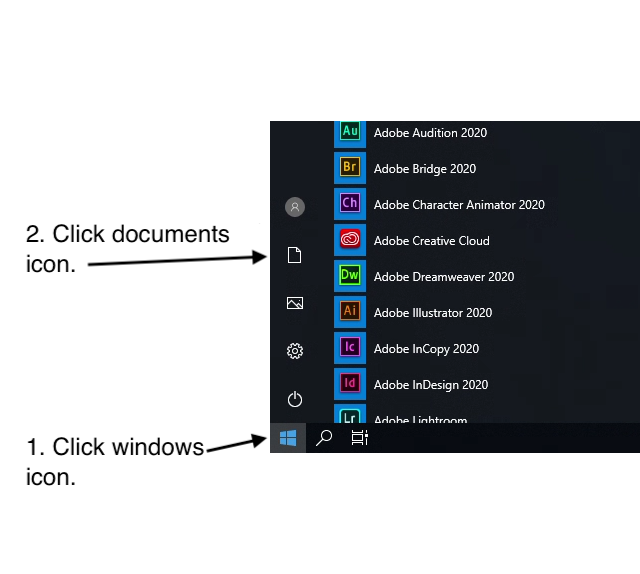
The Windows menu is brought up when you click on the windows icon shown in the lower
left hand corner of your screen (1). The menu pops up and you click the documents
icon (2). A separate window pops up that will resemble the screen below but the contents
may be different. Be sure to select “This PC” on the left and you will see “Google
Drive (G:)” on the right.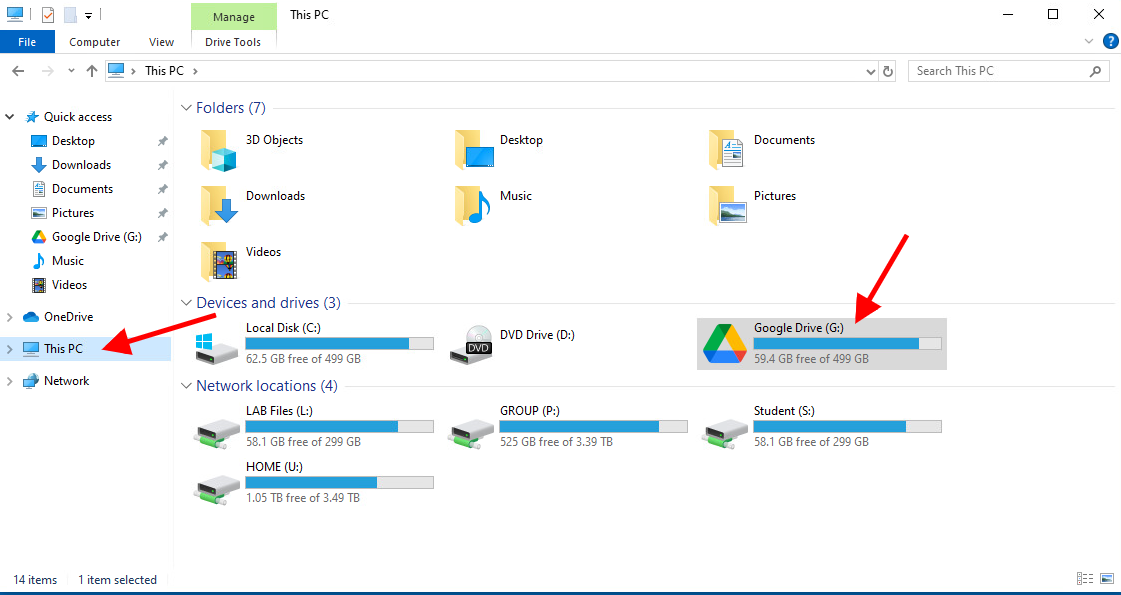
When you get the window shown above click on the “This PC” icon on the left. You should
get something like what we see above. If you click on the “Google Drive (G:)” icon
on the right, you will find your files in Google Drive.
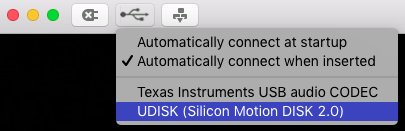
Steps for saving a file to your external USB
- After you have logged into the VDI system and selected the Student Desktop profile,
insert your USB disk into the computer. In the upper left-hand side of the VDI window,
choose the USB icon (middle icon) and select the name of your USB disk. In the example,
below my USB disk is titled UDISK.
- Next, save your file to that disk using the SAVE AS option in the application you are using such as Microsoft Word. During the SAVE AS process, you will need to navigate to the USB disk to select it.
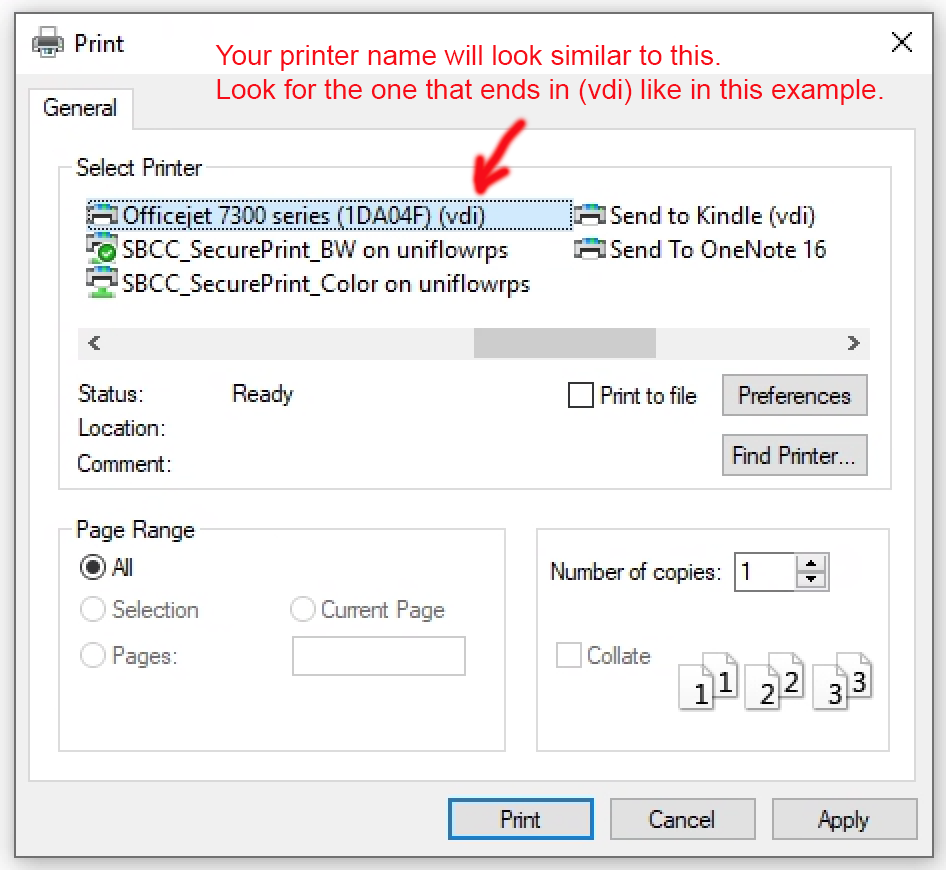
NOTE: The above only applies if you have installed the VMware Horizon client. If you connected to the "VMware Horizon HTML Access," printing to your personal computer will not work. Remote printing only works when you connect with the installed desktop client.
For technical support, contact IT Support for Students
- Forgetting to logout of VDI - If you are using an SBCC computer on campus, be sure to logout of the computer so that people who use it after you cannot access your files.
- A spinning or frozen circle - This is an indication that the system is very busy trying to process your request. Please wait until you see a prompt from the computer. You can also select the keyboard Control, ALT, and Delete keys to quit the process. You may need to logout of the system and try again later when it is less busy
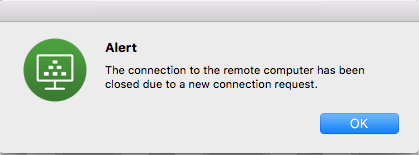
- You cannot log into the same VDI profile on more than one device at a time. Here’s a warning you will receive if you do attempt to do so. Connections sometimes
take up to 10 minutes to reset so you may need to wait a few minutes before attempting
to log in again.